October 23, 2024 : Some Fun With C4D and Fields
A recent project allowed me to dive a little more into C4D – and stretch out my skillset with Fields. I had some collateral from a contractor for a new campaign, and the movements weren’t very dynamic (they lacked the bounce I love in certain motions). When I got the AE source files, I realized they used plug-ins that we didn’t have (ugh).
As a result, I needed to recreate the scenes with the movement I wanted. I could have done this in After Effects – although it would have been a bit tedious due to the repeating elements. I decided to go into C4D and was happy with the end results:
And here’s a second sequence, with the same theme:
The scene’s general setup was rather simple. I took two arrows and put them into a Cloner Object. I then added a Plain Effector and animated some Fields to get the movement (either a Spherical or Linear, depending on the file). It took a little time to get things going how I wanted, and the rest was simply tweaking things to lock it in.
There was one curveball where the Standard Renderer was acting funky. The fix was switching to the Physical Renderer. This was another reminder of how I could stand to get more knowledge around the rendering capabilities of C4D as I don’t know much about the differences between the various renderers.
posted by Pi Visuals at 11:50 pm
Tags: After Effects , Cinema 4DComment
April 25, 2024 : Back In C4D (And Now Redshift)
I’ve been able to squeeze in some C4D sequences into a project at work, which is great since I’m due (not to mention it’s one of my personal goals). The shots I’ve worked on so far haven’t been too ambitious, but they are still pushing me to expand my skillset within the software:
One of my biggest weaknesses in not just Cinema 4D, but any 3D package, is lighting/rendering. For a few of these shots, I decided to go with Redshift as the renderer – something that was added to C4D a few years ago – just to see how it works.
Since the shots are getting added to a 2D look within After Effects, I’ve kept things very basic; but it has been interesting to see what Redshift has to offer.
posted by Pi Visuals at 11:18 pm
Tags: After Effects , Cinema 4D , GoalsComment
February 10, 2024 : Character Animation Fun
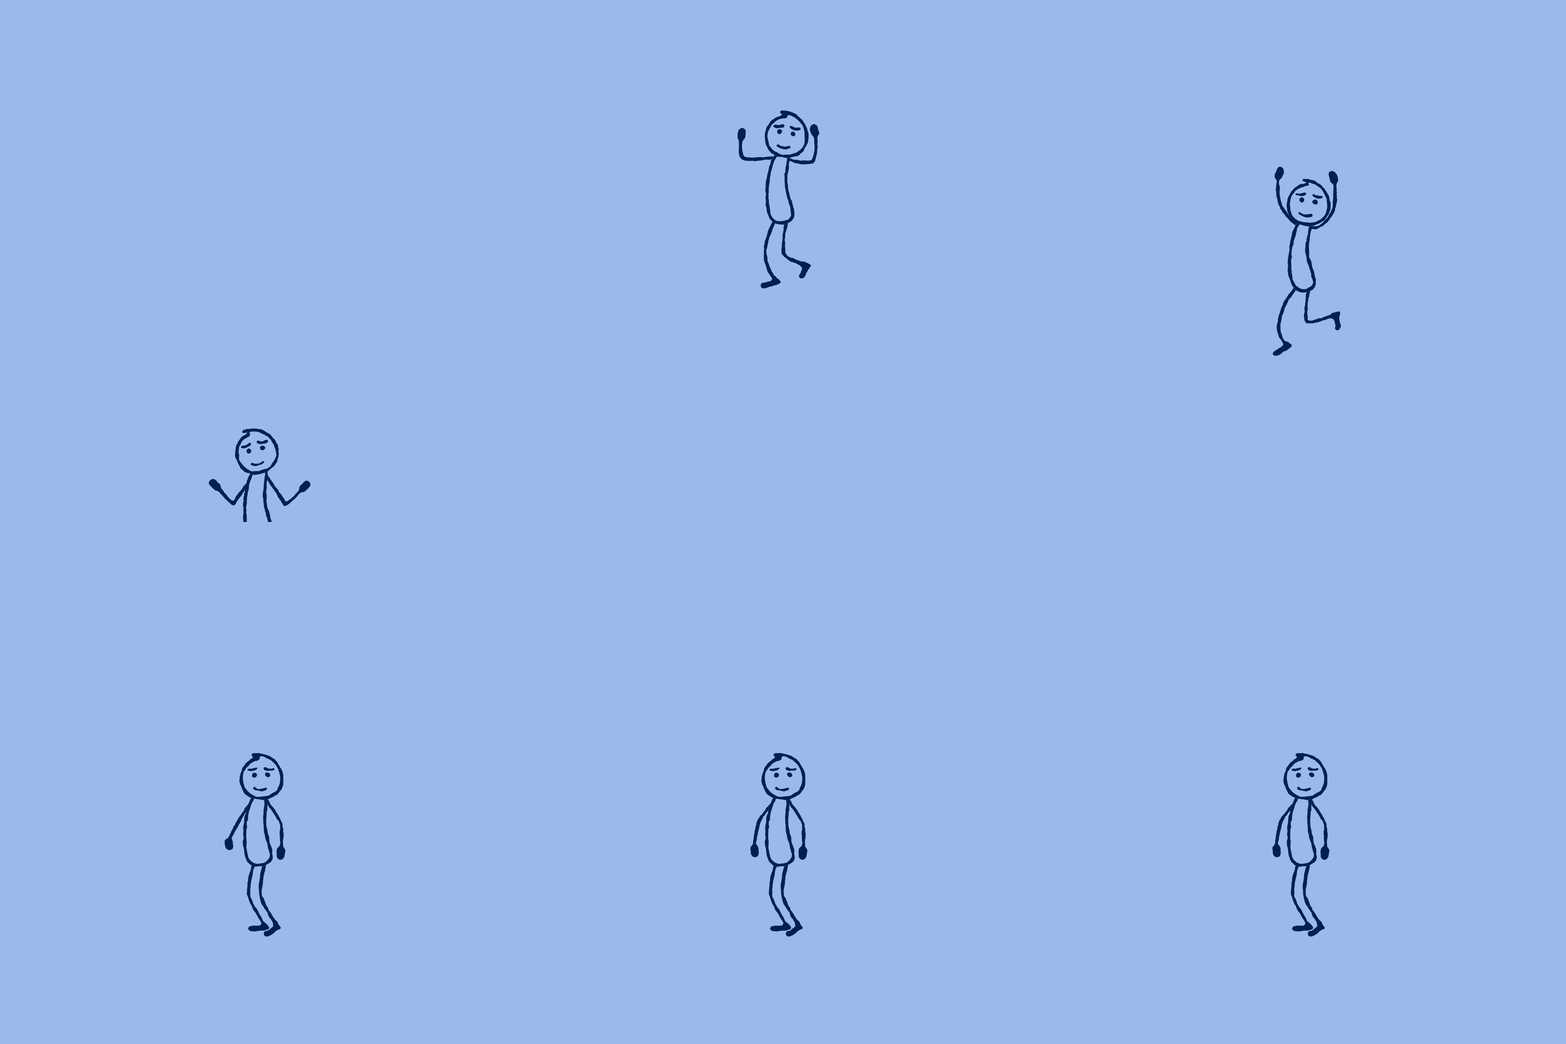
It isn’t anything super glamorous, but I started a new project at work that includes a good amount of character animation. It’s an educational piece that uses a stick figure with accompanying graphics to reinforce the script. That said, stick figures can actually be really fun to animate due to their aesthetic simplicity. I already set up the rig and did a few tests:
The work will be done in After Effects, which is still pretty powerful for character animation. I considered using a plugin (such is DUIK) but decided to keep things simple. I tend to do this type of work only a few times a year so it’s fun when I get a chance to flex these muscles – particularly since it’s been a little while since I’ve done a personal project… sigh.
I also wanted to go for a hand drawn look, which required some testing to get it how I wanted; but I think it’s in a good place. Overall it’s a fun, light-hearted project which is always something to look forward to 🙂
posted by Pi Visuals at 1:37 am
Tags: After Effects , Animation , Client WorkComment
December 23, 2023 : Digital Candy Cane Breakdown
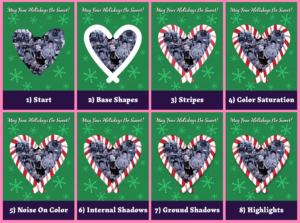
I really liked how the candy canes turned out in this year’s Holiday card. It took a few steps to get to the end result so I figured I’d share the progression:
I ended up using After Effects – technically, the base shapes were done in Illustrator when I was creating the card’s general layout, but this could have easily been done in AE as well. I’m sure Photoshop would have been just as capable, but I used a fair amount of mattes, masks, and blending modes; and I am more comfortable doing that in AE.
Originally, I was planning on going with a more illustrative look so I could have easily stopped at #3 or #4; but as I kept working through things, I liked the realistic look more and more. The shadows/highlights really helped achieve the look I wanted, but I think the unsung hero that really sold it was the noise layer.
posted by Pi Visuals at 12:34 am
Tags: After Effects , Candy Cane , HolidaysComment
December 15, 2023 : Tis’ the Season – For Digital Candy Canes
Another year, another Holiday Card. For those keeping track, this is the seventh year I made one with/for the family. Here’s number 7:
Every time it seems like a rush job; but by keeping things simple, I feel it was pretty manageable this year. As always, there are a few things I would have liked to tweak a little more, but overall I’m pleased with the end result.
I’m a big fan of the candy canes, which were created in After Effects. In fact, the whole card was done in AE (with a splash of Illustrator) versus using Photoshop. This was mostly due to my comfort level with the software, as I’m sure it could have been done easily in PS. I plan on writing up a quick post describing the steps. It wasn’t too complicated but there were a series of layered effects, which gave a solid look.
posted by Pi Visuals at 12:04 am
Tags: After Effects , Candy Cane , HolidaysComment
April 23, 2022 : Zoom Blur Transition
I mentioned Match Cuts in a previous post. Another transition I’ve been trying to incorporate more is the Zoom Blur (note: turning these into Gif’s did degrade their quality).
While Match Cuts can be used in animation as well as live action, Zoom Blur is more intended for live footage; but I think they are powerful since there our multiple variations – it’s just a matter of being creative.
posted by Pi Visuals at 12:36 am
Tags: After Effects , Animation , TransitionsComment
July 1, 2021 : Gif Making In Adobe
Over the years, I’ve created plenty of animated gif’s for various clients… and maybe a few for personal enjoyment. However, it wasn’t until recently that I did some research on the various ways of making a Gif in Adobe.
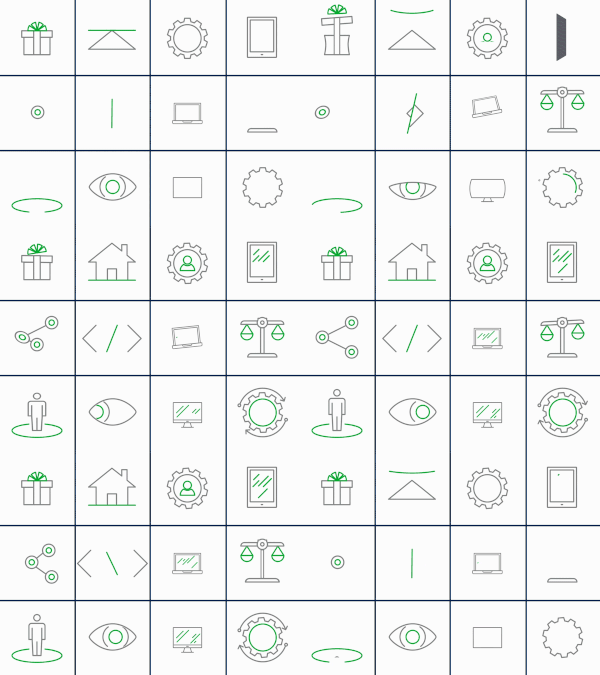
I’m working on long-term project, creating 3-second looped gifs of various icons. Below is a collection of some of the first drafts (click on the image to view the gif in all its glorious motion):
There are over a hundred that need to get done, and I have maybe fifteen. I try to crank one out every week or two… did I mention it’s a long-term project?
In the past, my process of creating a Gif was:
- Create the animation in After Effects
- Render out an mp4 (via Encoder)
- Import the mp4 into Photoshop
- Export the mp4 as a Gif
I recently found out Encoder renders Gif’s directly. While this reduced the steps, there were issues with the final render. Below is a version using this process:
Obviously the color bleeding/ artifacting was unacceptable. As such, I reverted back to the Photoshop Export. For good measure, I adjusted some of the export settings (most notably increasing the Dither to 100%). Below is the end result:
Chef’s Kiss! This project not only verified the necessary pipeline for creating an acceptable Gif in Adobe, but it forced me to dive deeper in Photoshop’s Gif export Settings… something I hadn’t done before. It’s not often I get a chance to dig into the nuts and bolts of Adobe so this was a fun (and worthwhile) exercise.
posted by Pi Visuals at 11:11 pm
Tags: After Effects , MoGraph , PhotoshopComment
April 16, 2021 : Dolly Zoom Exploration
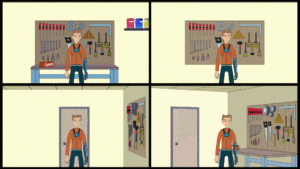
I finished up my quick Dolly Zoom Study. Several versions were created for review – using the same character movement but changing the background. I also threw in animated color corrections to better sell it in After Effects. Below is the final compilation (click on the image for the GIF to animate):
From a technical perspective, performing the maneuver digitally was very easy. I had full control of the camera and was able to tweak things to get things how I wanted.
The background composition sold the effect. Having a flat one dimensional BG (upper right) made things very dull and ineffective. Similarly, the upper left version added depth with the workbench, but it moved in parallel to the Character… not in contrast, thus limiting its value.
The lower left version did have two walls in the shot, and I felt it was an improvement; but the lower right had the most dynamic staging. As such, it had the most dramatic. Overall, it was a cool exploration into the Dolly Zoom, and I’m glad I have it in my skillset moving forward.
A footnote: this was done in Lightwave 2015… I still don’t have much of a clue how to use 2020.
posted by Pi Visuals at 11:35 pm
Tags: After Effects , Lightwave , The Dolly ZoomComment
August 21, 2020 : Hologram Goodness
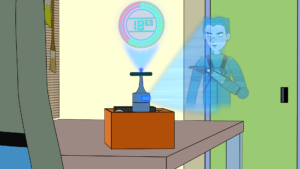
I just completed a set of sequences, and they required Holograms. I previously discussed the Holographic Timer, which borrowed techniques from Ultra – an older short of mine neither critically nor commercially successful – with some tweaks.
A new graphical element needed for this part was a Holographic projection of a character. I wanted to have some fun with this since had never done the effect before, but I also needed it to stay consistent with the Timer. Below is a screenshot:
I’m very happy with the end result. However to really sell the visuals, I realize the need to have solid accompanying audio effects. I’ve already placed in a lot of SFX for earlier sequences, and as always the case, it makes things so much better. I expect the same to happen with the Hologram sequences.
posted by Pi Visuals at 11:55 pm
Tags: After Effects , MeAndMe , UltraComment
August 15, 2020 : After Effects Expressions
This week I finished animating a series of sequences totaling about 20 seconds, and I am pretty stoked about it. The animation itself was standard fare, but it requires some fun accompanying elements in After Effects.
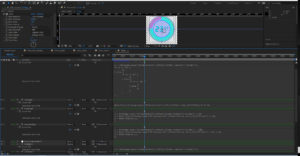
One of these is a timer that is precise down to hundredths of a second. To easily keep consistency between sequences, I used a Slider Control to set the start and end times. Parts of the graphic even changes color based on the time.
To get all this to work (and look good visually), I only used Expressions. I have a base knowledge of them so this required some research. It was a fun challenge, and I’m happy with how robust it turned out. Here’s a screenshot pf the Comp in After Effects:
I still need to add a little more to the design of the timer, but it’s coming together. I also need to create another graphical element for the sequences, and that should be equally fun. That I haven’t started yet, but is next up on the docket
posted by Pi Visuals at 11:38 pm
Tags: After Effects , MeAndMeComment
