August 4, 2017 : Rig Improvements – Head/ Face Edges (Part 3)
In the previous two parts, I discussed how and why I made significant changes to the Head/ Face of my characters’ rigs. For the last part in this series, I want to detail the controls of the head during animation.
The changes to the Head/ Face area were made to control the Edge Lines, particularly around the chin and jawline. The other driving factor was to keep the orientation of the Head stationary while the rest of the body moved – a style more typical with 2D animation.
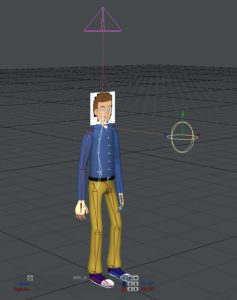
The end result was using two Target Nulls, effectively controlling all three rotational axis of the Head Bone. For the rest of this post, the Heading, Pitch, and Bank axis are Red, Green, and Blue respectively.
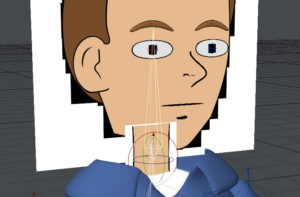
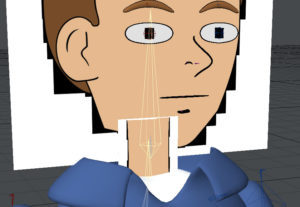
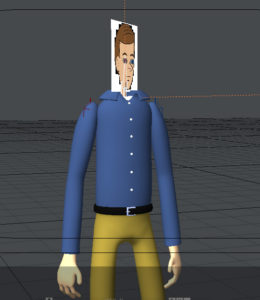
One null controlled the Heading and Pitch of the Head bone, while the other null controlled the Bank of the Neck bone – the parent bone of the Head bone – located just below it. Below is a shot with both bones selected (in Yellow):
Since the head was an image projection onto a plane, I needed to have it constantly face the camera. Otherwise, the perspective of the face would look off:
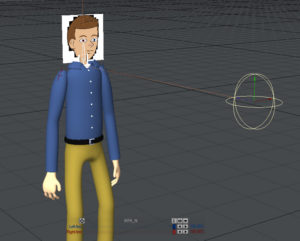
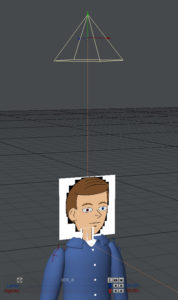
The first Target Null took care of this issue. The Neck bone’s Bank was oriented so that it pointed at this null. In many software packages, this is referred to as a Pole Vector. When the Neck bone rotates along the Bank to face the Target null, so does the Head bone. I typically left this null at the position of the camera and probably could have parented it to the camera, but for extra flexibility I adjusted it manually.
To ensure the head remained in the same relative vertical angle, the second Target Null was employed. The Head bone would rotate along its Heading and Pitch axis so that it pointed to this null. Without this setup, the Head would move in conjunction with the Spine. For action shots, this would probably be satisfactory but not for scenes focused more on dialogue or less drastic movements.
While the Target Nulls controlled the rotation of the Head bone, the bone itself still had the capability of moving positionally. I would do this in very small increments, typically along the y-axis, and it gave the animation a little extra kick.
Overall, I really liked the new rig. Aesthetically it achieved what I wanted – the Edge Lines and Head positioning stayed more consistent. This prevented extra time being spent in After Effects backtracking and trying to fix issues with the 3D Render.
That said, there were limitations. Specifically, the angles of the head (and thus the camera shots) were not very robust. Still, I felt for this project, the pros greatly outweighed the cons. Improvements can always be made – particularly from an automation standpoint – and I hope I can pursue these changes on future projects.
posted by Pi Visuals at 11:52 pm
Tags: Ad Wizards , Lightwave
